VII. Image Viewer
Certain CPA tools, such as Classifier, display images in Image Viewer, and any image in the experiment can also be opened within CPA by choosing this tool from CPA’s Tools menu or by clicking the Image Viewer icon in the toolbar.

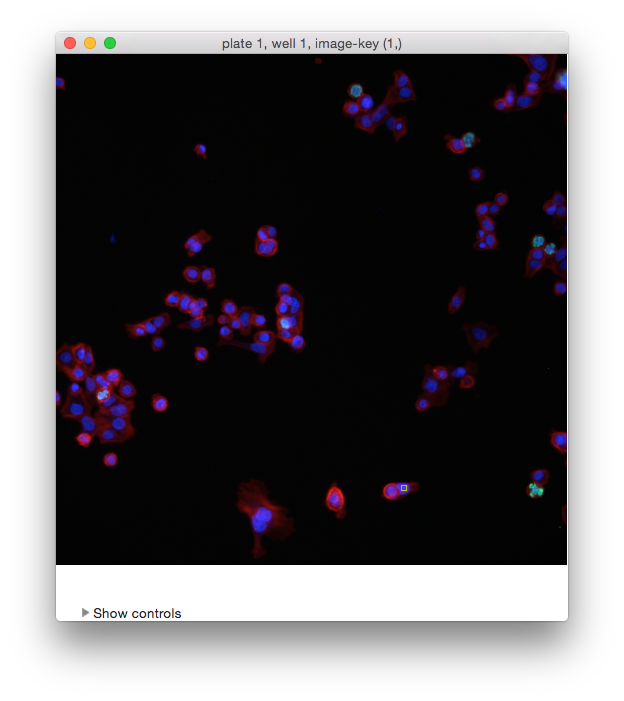
The Image Viewer.
When you open Image Viewer from CPA, it will prompt for the ID number of an image to show. If
you also specified a table_id column in your properties file, then you will also be prompted for
the table number. You can load additional images by selecting File > Open Image (ctrl+O).
If you specified plate_id and well_id in your properties file, then Image Viewer will display
the plate and well in the title of the window along with the image-key, which is image 328 in the
example above.
The image_names that are specified in your properties file will appear in the menu bar. In the
example above, the user has specified names for the Actin, pH3, and DNA channels. If you
have not defined names for any channels, the menu bar will contain channel-1, channel-2, etc.
Click on one of the channel names to see a dropdown list of available colors for each – clicking
on a color will map that color onto the channel. If you specified image_channel_colors in
your properties file, those colors specified there should appear under each channel menu by
default.
The Classifier menu provides an item that will let you classify the objects in the current image. This item is only enabled if Classifier is running and trained. For more on this feature see the Score image discussion in section III.C.6.
- Tip: You can use keyboard shortcuts to toggle each channel on/off: Ctrl+1, +2, +3, … will toggle first, second, third, etc. color channels.
Click Show controls (or press the space bar) to display the Image Viewer control panel, which controls brightness, contrast, and scale. This same control panel is available in Classifier by choosing View > Image Controls (see section III.C.1).
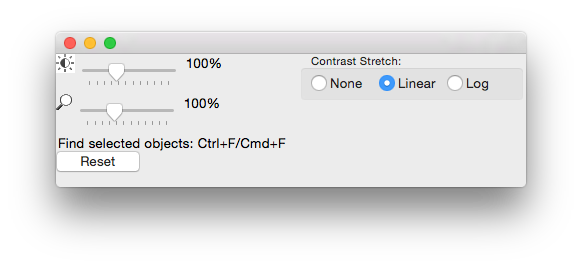
Image controls
The upper slider controls brightness; the lower one rescales the size of the image or image tiles. The Contrast Stretch controls let you stretch the image contrast by rescaling the pixel intensities of each channel independently to fit the range 0-1 (where 0 is unsaturated and 1 is saturated).
- Linear scales the image intensities linearly. For an image in the range 0-0.5, pixels at 0.5 intensity would be rescaled to 1.0, and pixels at 0.4 rescaled to 0.8; in short, all pixel intensities in the image would be doubled.
- Log transform scales the image intensities logarithmically, which has the effect of scaling dimmer pixels by a greater factor than it scales brighter pixels.
Warning: scaling in this way may yield misleading results. For example, if a channel of an image shows very little staining, the raw image may have intensities in a low, narrow range, e.g., from [0-0.01]. Stretching in this case would have the effect of raising the background intensity levels so that the image overall appears very bright.